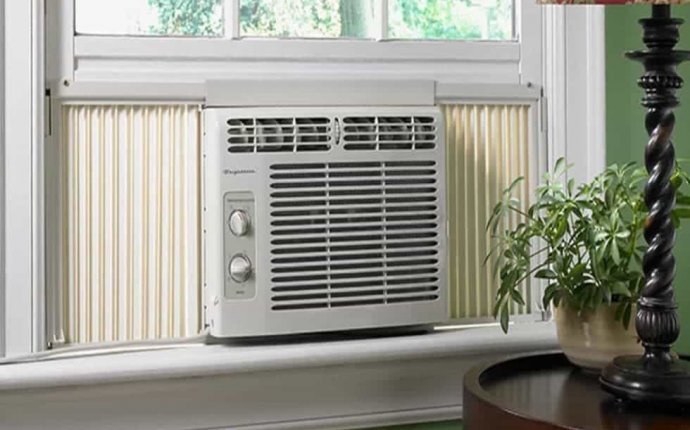
How to Clean Windows AC at Home?
 Tilt your window unit slightly lower outside to aid draining.
Not only does air conditioning lower the temperature inside your home no matter how hot the day, but it also removes humidity from the air. As the cold refrigerant inside your window air conditioner circulates through the evaporator (an indoor cooling coil) the warm air inside your home creates condensation - like steam on a bathroom window during a shower. Newer units are designed to hold much of this water in the pan, where the fan slings it across the condenser (the outdoor coil) to lower the unit's temperature and increase its efficiency. Some units drain continuously, however. To help either drain better, take whichever measures you find necessary.
Unplug the window air conditioner, and ensure it is stable. Have an assistant help you during your work; she can steady the air conditioner and help remove it from the window if it becomes necessary.
Check the window unit to determine if it's level or slanted toward the ground outside. To aid proper drainage, the rear of the unit should drop about an inch lower than the front. "Eyeball" the air conditioner, working from outside; if it's slanted enough, it should appear obvious. If it's difficult to tell, lay a carpenter's level across the top.
Drop the rear of the unit lower than the front to increase the unit's angle and encourage good drainage. Even newer units that don't drain continuously generally have an overflow drain in case the water level gets too high. To lower the unit's rear, consider the installation method. If the unit sits unsupported in the window, it's generally a matter of pulling it slightly forward to allow the rear to drop. Braces of various kinds may need to be cut and reattached or otherwise lowered to allow the rear to drop.
Find the drain hole or plug designed to expel excess water. On constantly draining units (usually older or very large units) the hole is generally underneath the exterior portion of the unit and may be very small. Window air conditioners designed to retain water may have a hole on the side instead, so when the water reaches a given level it drains away. Alternatively, you may find a cap underneath the unit that allows you to pour off water before recapping.
Unplug the drain hole if you see or suspect it's clogged at or near the entrance. Poke a long, thin wire or even a baby bottle nipple cleaner through the hole, and work it back and forth like you're brushing your teeth. Often this is enough to encourage the water to drain.
Pull the unit from the window, remove the outer casing if necessary and set the unit on a clean surface. Lay a thick cloth over the switches and fan motor, and tilt the air conditioner slightly to encourage water to flow away from these electrical parts. Spray the unit, using a low-pressure stream, directing the flow from the inside of the coils out to remove excess dirt and debris.
Remove the base pan, into which the condensation drains, to clean the pan or the internal drain system. Unscrew or pull to unclip the base pan (sometimes called a drip tray) from the bottom of the unit. Scrub with a rag and water from the hose. Alternatively, replace the tray with a new one; if it's rusted or extremely damaged, it may be preventing proper drainage.
Look for small tubes - typically two - running from the front pan, under the evaporator, to the rear where it releases condensation into the base pan. Run a small brush or wire through these hoses with a swabbing, scrubbing motion to work free any clogs.
Enlarge or add another weep hole in the base pan only if one already exists or the product literature indicates it is appropriate. With the pan removed, use a drill and small bit to bore a hole toward the outermost edge of the pan or enlarge an existing hole.
Reassemble the air conditioner, attaching the base pan first and following with the casing as appropriate. Reinstall in the window, allowing the proper tilt, and secure. Avoid running the air for a day or two to ensure everything is dry.
Things You Will Need
- Carpenter's level
- Wire or baby bottle nipple brush
- Thick cloths
- Water hose
- Screwdriver
- Drill
Warning
- Never plug an air conditioner in immediately after cleaning or installing. If exposed to moisture, several days will ensure all trace is gone to prevent damage or injury. After moving the unit, the coolant needs time to settle before operation likewise.


